How to Make Perfect Microwave Nachos (Quick & Cheesy!)
Yes, you can actually make great nachos in the microwave! Get perfectly melted cheese, avoid soggy chips, and customize toppings with my easy guide.

Are Microwave Nachos Actually Good?
After nearly a year of traveling through Mexico, I got used to cooking without an oven. Most places had a microwave though, so when the nacho craving hit, I experimented—and surprisingly, this became a favorite way to enjoy them.
We had a lot of microwaved nachos, and believe it or not, they’re good! In fact, my husband and I rarely bother with the oven method. Unless you're making a giant tray for a group, it’s just not worth it.
Why This Method Works
Using the right ingredients: A good melting cheese and sturdy tortilla chips make all the difference in texture and flavor.
Layer properly: Arranging chips in a single layer prevents dry spots and ensures every bite has melty cheese. Some toppings go on before microwaving, others after, for the best results.
Using the right microwave settings: Short bursts of cooking time prevent overcooked or rubbery cheese.
What’s Ahead
Best Cheese for Microwave Nachos: Top cheeses for a melty, gooey texture.
Best Tortilla Chips for Microwave Nachos: The best chips for staying crispy and holding up under heavy toppings.
Layering Guide: Which ingredients to add before microwaving and which to add after for best results.
Topping Variations: My favorite flavor combinations for the ultimate nachos.
FAQs: Answers to common questions like whether a microwave, oven, or air fryer is best for nachos, how to reheat leftovers, and more.
But first, I’ll guide you step-by-step to make the perfect microwave nachos in under a minute.
Now, let’s get microwaving!

What you’ll need
Ingredients
For Microwave Nachos
1 layer of sturdy tortilla chips (about 12)
4 ounces (½ cup) cheese, grated (cheddar, Monterey Jack, or Colby)
Optional Toppings
Pickled jalapeños
Sour cream
Diced tomatoes
Diced green onions
Equipment
Microwave
Microwave-safe plate
Cheese grater
Makes: 1 portion
Prep: 1 min Cook: 1 min
How to make it
Step 1
Prep the nachos.
Spread the tortilla chips in a single layer on a microwave-safe plate. A little overlap is fine, but make sure most of each chip is exposed.
Grate the cheese and sprinkle it evenly over the chips, ensuring each one gets a generous amount.


Step 2
Microwave the nachos.
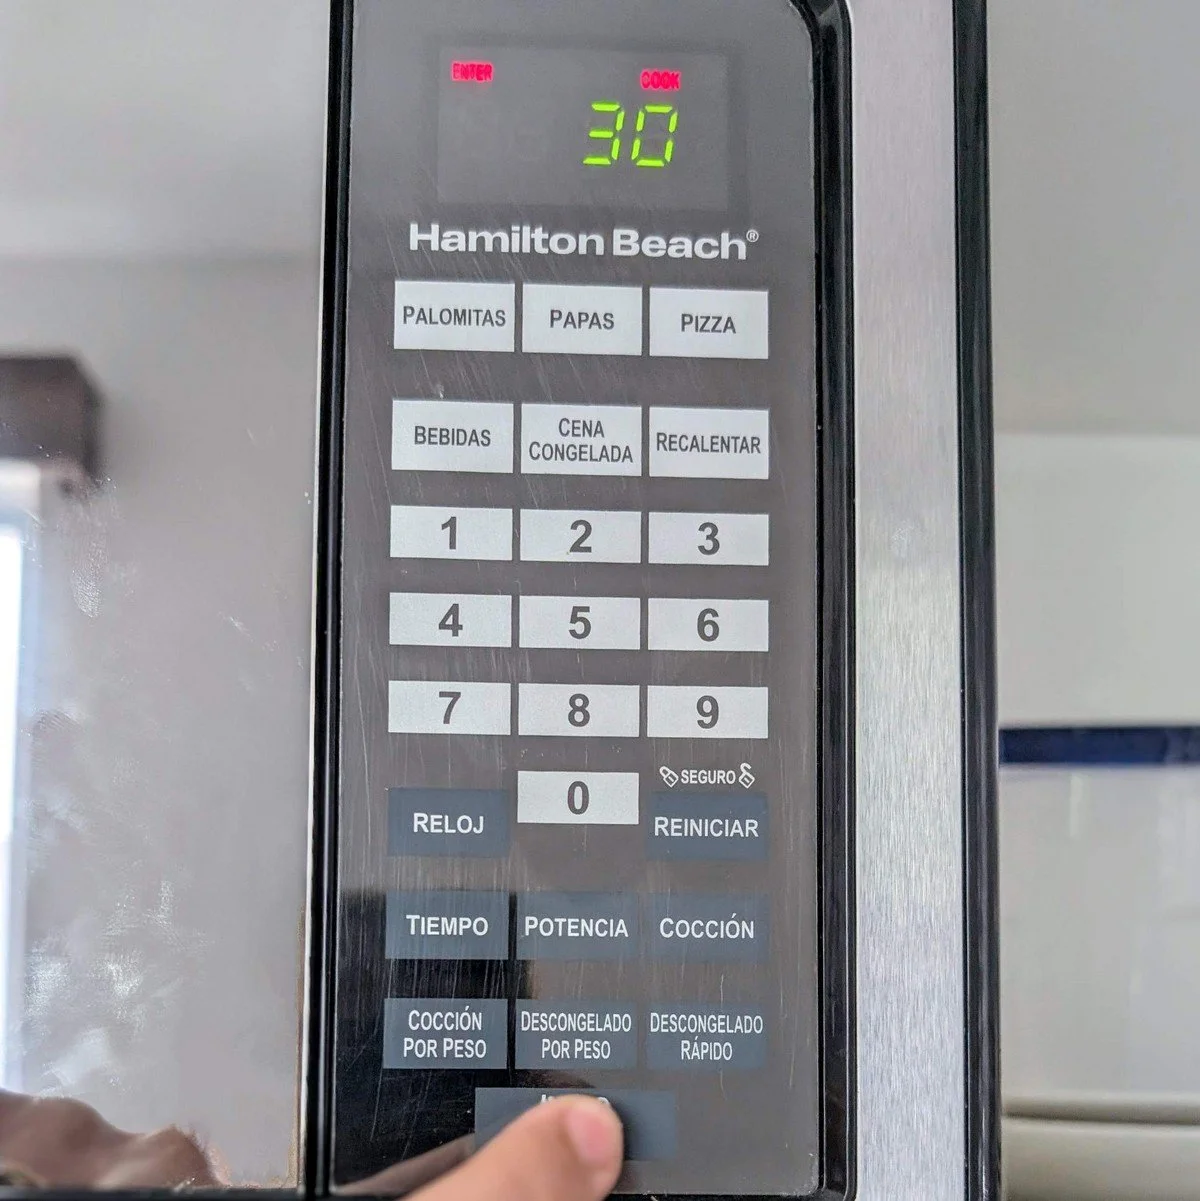
Place the plate of nachos in the microwave and cook on high for 30 seconds.
Check if all the cheese has melted. If not, continue microwaving in 10-second bursts until it’s fully melted and gooey.
💡 Pro Tip: Microwave power levels vary, and cheese can go from perfectly melted to rubbery in seconds. Err on the side of caution by checking frequently and microwaving in short bursts until you get a feel for your microwave.


Step 3
Top the nachos.
Add your favorite fresh toppings and enjoy!
Check out the layering tips and topping variations below for more ideas, or keep scrolling for my top recommendations on cheese and tortilla chips.


Best Cheese for Microwave Nachos
Best Melting Cheeses
Cheddar: Sharp, flavorful, and a classic choice.
Monterey Jack: Mild, creamy, and melts beautifully.
Pepper Jack: Similar to Monterey Jack but with a kick, usually from jalapeños.
Colby: Similar to cheddar but milder in flavor with a higher moisture content, making it great for melting.
Longhorn Cheese: Similar to Colby or cheddar with a mild, slightly tangy flavor.
Mozzarella: Extra gooey with that signature long cheese pull. Best when mixed with a more flavorful cheese.
Oaxaca Cheese: A Mexican string cheese, similar to mozzarella but with a more earthy, buttery flavor. Commonly used in quesadillas, it melts beautifully and also has a great cheese pull.
Chester Cheese: A creamy, easy-melting cheese from Mexico, similar to Monterey Jack but richer and creamier. (This is the one I used for my nachos!)
Cheeses to Avoid
Pre-shredded cheese: Contains anti-caking agents that prevent it from melting smoothly.
Parmesan & Cotija: These aged low-moisture cheeses don’t melt well. They’re better sprinkled on after microwaving for extra flavor.
Feta & Goat Cheese: High in moisture, these cheeses can make the chips soggy. It’s best to crumble them on top after microwaving.

Best Tortilla Chips for Microwave Nachos
Best Types of Tortilla Chips
Thick, restaurant-style corn tortilla chips: Sturdy and crunchy, these hold up well under melted cheese and toppings. Look for "restaurant-style" on the label—Tostitos, Trader Joe’s, and Late July all make great versions.
Stone-ground corn tortilla chips: Made from whole kernels, these are thicker and more flavorful. Look for brands like Xochitl, Santitas, or Que Pasa—one of my personal favorites!
Cantina-style tortilla chips: A little thinner than restaurant-style but still crisp and light. Best for simple cheese nachos with minimal toppings. Great Value Cantina Style Tortilla Chips from Walmart are a great budget-friendly option.
Homemade tortilla chips: Cutting and frying or baking your own corn tortillas gives you the crispiest, most flavorful chips. These are thick, sturdy, and closest to totopo-style chips found in Mexico.
Corn vs. Flour Tortilla Chips
Corn tortilla chips: The best choice for nachos—sturdier, crispier, and packed with more flavor when microwaved.
Flour tortilla chips: More delicate and don’t crisp up as well in the microwave. They tend to get chewy rather than crunchy and are best saved for oven-baked nachos.
💡 Pro Tip: For extra crunch, microwave just the chips for 15 seconds before adding the cheese and toppings. This helps toast them slightly and enhances their flavor.

Microwave Nacho Layering: What to Add & When
What to Add Before Microwaving
Beans (if using): Refried or black beans can go on before heating to warm through.
Cooked meats: If adding ground beef, pulled chicken, or carnitas, layer them under the cheese so they stick better to the chips.
Raw onion: Microwaving raw diced onions softens them slightly and mellows out their flavor.
Pickled jalapeños: Microwaving them enhances their heat and flavor, but if you prefer them fresh & crisp, add them after microwaving.
What to Add After Microwaving
Salsa & pico de gallo: Add after microwaving to prevent soggy chips, as their high water content can make them too wet.
Guacamole & avocado: Best when fresh—heat can make them mushy or brown.
Sour cream & crema: Should be drizzled on or used for dipping after microwaving for a cool, creamy contrast.
Fresh toppings: Diced tomatoes, cilantro, radishes, and shredded lettuce stay crisp when added last.
Anything wet: To avoid sogginess, add wet ingredients like chili, pickled red onions, or hot sauce after microwaving.
Microwave Nacho Topping Variations
Here are a few delicious topping combinations to inspire your next microwave nacho creation!
Fully Loaded Nachos: Cheddar, Monterey Jack, mozzarella, refried beans, seasoned ground beef, guacamole, sour cream, pico de gallo, diced onions, and black olives.
Spicy Nachos: Pepper Jack cheese, pickled jalapeños, spicy chorizo, habanero salsa, fresh pineapple, and cilantro.
Vegetarian Nachos: Colby cheese, black beans, roasted poblano peppers, corn, fresh avocado, pickled red onions, and crumbled feta.
Chili Cheese Nachos: Spicy beef chili, cheese sauce, green onions, and sour cream.
Brisket Nachos: Longhorn cheese, chopped smoked brisket, caramelized onions, sour cream, and vinegary cabbage slaw.
Mexican Street Corn Nachos: Oaxaca cheese, roasted corn, Mexican crema, fresh lime juice, Tajín seasoning, and crumbled cotija cheese.
Breakfast Nachos: Chester cheese, crumbled bacon, scrambled eggs, sour cream, diced jalapeños, and tomatillo salsa.

FAQs
How long to microwave nachos?
Microwave times vary, but start with 30 seconds on high, then check if the cheese has melted. If needed, continue in 10-second bursts until it’s fully melted and bubbly.
How to reheat leftover nachos in the microwave?
Remove any wet toppings first, then microwave the nacho chips on a microwave-safe plate for 30 seconds, followed by 10-second intervals until warmed through. Add wet or fresh toppings back on afterward.
For really soggy chips, try reheating them in an air fryer, oven, or frying pan at high heat to help them crisp up again. Follow the steps from my post on how to make soggy fries crispy again, but skip the water step since leftover nachos already contain enough moisture.
Are nachos better in the microwave, air fryer, or oven?
It depends on what you’re looking for:
Microwave: Fast and convenient, but can only make one plate at a time.
Air Fryer: Best for crispy nachos but can brown ingredients quickly—watch closely.
Oven: Ideal for large batches, but takes longer (8–10 minutes at 400°F).
My go-to these days is the microwave since I usually make just two portions at a time. It’s quick, easy, and surprisingly effective—if you haven’t tried it yet, you might be surprised at how great the nachos turn out!
Can you put mozzarella cheese on nachos?
Yes, but it’s best paired with a more flavorful cheese like cheddar or Monterey Jack. Mozzarella melts well and has a great cheese pull, but it lacks the sharpness and depth of flavor needed for great nachos.
How to dice fresh tomatoes for topping microwave nachos?
The key to preventing soggy nachos is minimizing the moisture in the tomatoes.
Plum tomatoes work best because they have more flesh and fewer seeds. Cut them into quarters lengthwise, then scoop out the seeds and watery center. Slice into strips, then turn and dice into small cubes. Add them to your nachos right after microwaving for the best texture.
How many layers should microwave nachos be?
A single layer is best so the cheese melts evenly. If you want more nachos, microwave another batch rather than stacking layers for the best results.
What kind of onion is best for microwave nachos?
Green onions: Mild and fresh, perfect for a finishing touch.
White onions: Crunchy and pungent, but soften slightly when microwaved for a mellower flavor.
Pickled red onions: Tangy and crisp, best added after microwaving.
Onions to avoid: Yellow onions, red onions, and shallots—these have strong flavors that can overwhelm the nachos, especially when added fresh.

That’s it, enjoy!
These nachos are one of the best ways to use your microwave. With the right chips, cheese, and layering technique, you can have perfectly melty, flavorful nachos in under a minute.
If you don’t have a cheese grater, I’ve experimented with cutting the cheese into thin strips or small cubes, and it still works great! It just takes about 20–30 seconds longer to melt. The best part? It melts into little cheesy puddles, making the nachos even gooier than when using grated cheese.
A versatile snack that’s perfect for game day, cocktail hour, or using up leftovers. I once turned leftover béchamel into a cheese sauce with cheddar, and spooned it onto the nachos before microwaving—it was so gooey and delicious. Add leftover meats, veggies, or fresh toppings for a new twist every time!
In the end, it’s all about experimenting and having fun. With such a low barrier to entry, you can make these over and over again—a hassle-free and fun way to get creative in the kitchen!
Have you tried making nachos in the microwave? Let me know in the comments! I’d love to hear what cheese, chips, and toppings you used.
Enjoy!
More Kitchen Hacks & Tips
The easy way to boil eggs in a kettle: Use your electric kettle for a foolproof method that’s great for small spaces, dorms, or office kitchens.
How to rehydrate stale fries with water: My step-by-step guide to bringing leftover fries back to life—crispy on the outside, fluffy on the inside.
Use leftover dill pickle brine for chicken: A simple trick to infuse chicken with tangy, flavorful brine while keeping it juicy and tender.
How to make brown butter - stovetop or microwave: A fast and easy way to enhance sweet and savory dishes like pasta, cookies, and sauces.
Make stock from kitchen scraps: The restaurant technique I use to always have rich, homemade stock on hand while reducing food waste.
How to make a small batch of hollandaise: With just a microwave and an immersion blender, this silky sauce comes together in 5 minutes—perfect for eggs, asparagus, steak, and more.