How to Carve a Whole Roast Chicken with Kitchen Scissors
Learn how to cut a roast chicken with scissors—into halves, quarters, or pieces—step-by-step and mess-free.

How to Cut a Roast Chicken with Scissors
Step-by-Step with Photos
Step 1: Remove trussing from the roast chicken
Carefully untie any butcher’s twine (or foil in my case) from the roasted chicken. This loosens the structure so the bird is easier to cut cleanly.
💡Pro Tip: If you don’t have butcher’s twine, foil works just as well to tie the legs together during roasting—just like I did in the pics below!


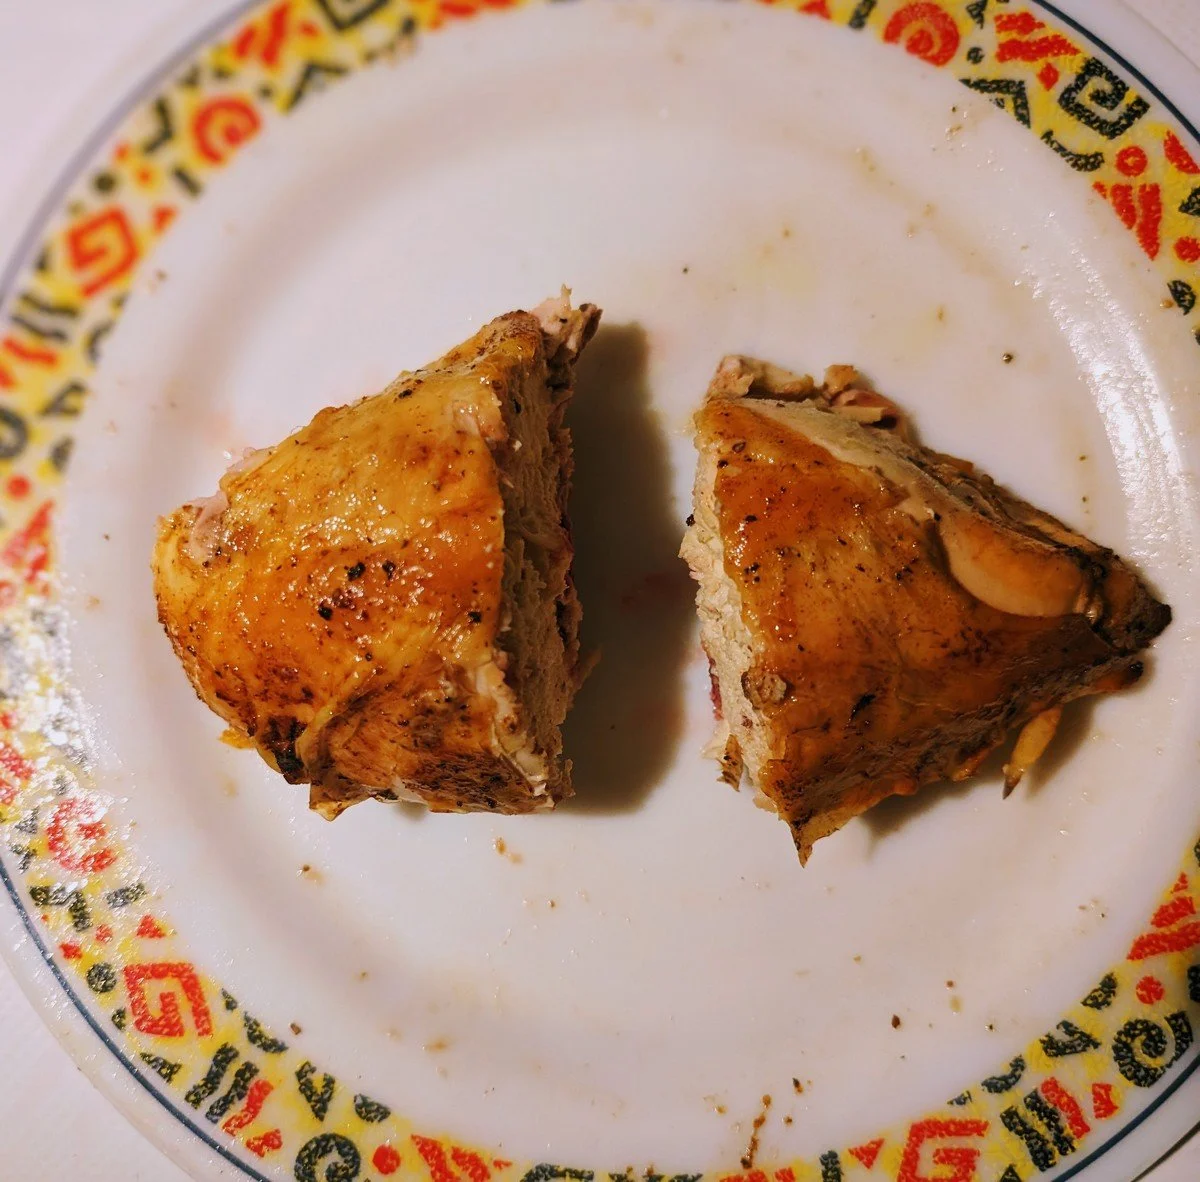
Step 2: Cut off the legs with scissors
Use your kitchen scissors to cut the skin between the legs and breast to loosen the legs.
Cut along the spine and through the joint to remove the first leg.
Repeat on the other side and set both legs aside.


Step 3: Cut off the chicken breasts and set aside
Cut through the breastbone with your kitchen scissors to split the chicken into two halves.
Then, cut along the spine and through the ribs to fully remove each breast.
Set the breasts aside and reserve the spine for chicken stock or soup.
💡Pro Tip: I keep roasted chicken bones in a zip-top bag in the freezer to make homemade broth when I’ve collected enough scraps.


Step 4: Separate the drumstick and thigh (optional)
To divide the leg into drumstick and thigh, cut through the joint cartilage with your scissors.
Repeat for the second leg.


Step 5: Remove the wings and split into flats and drumettes (optional)
Cut through the shoulder joint to separate the wings from the breasts.
If desired, remove the wing tips and split the wings into drummette and flat by cutting through the joint.


Step 6: Cut chicken breasts in half for smaller servings (optional)
If you wish to serve smaller pieces of breast, cut the breasts in half perpendicular to the breast bone.
Start by cutting through the bone then working towards the outside as you see in the following pics.


Step 7: Reheat and serve the carved chicken
Reheat the chicken pieces for 5-10 minutes in a 350°F oven or microwave before serving.

I may earn a small commission from some of the links on this page if you make a purchase, at no extra cost to you. I only recommend products I genuinely believe in and already have or would purchase myself.
Pro Tips for Cutting a Whole Roast Chicken with Scissors
Resting is essential: Before cutting, make sure to rest your roasted chicken uncovered for at least 15-20 minutes, here’s why:
Juice redistribution - as the chicken cooks, its juices reach a boiling point, forcing them out of the meat. Resting allows any juices left in the chicken to resettle and distribute evenly throughout, ensuring every bite is moist.
Tenderness - resting also allows the muscle fibers to relax, so a well-rested bird will be more tender and easy to carve.
Safe Handling - besides that, the temperature will drop so you can safely handle the chicken for carving.
Use sharp kitchen scissors: A good pair of sharp, sturdy kitchen shears like these scissors from Henckels makes all the difference. Dull blades can tear the meat instead of making clean cuts.
Cut along natural lines: When separating the legs, wings, and thighs, aim to cut through the cartilage rather than bone. You'll feel less resistance and get cleaner cuts. If you hit a bone, just shift the scissors over a little until you feel it going through the cartilage.
Don’t throw away the carcass! Save the carcass and any leftover bones and skin off dinner plates to make a chicken stock. I usually keep my kitchen scraps in a zip-top bag in the freezer, then make a batch of stock once I’ve accumulated a full 2-pound bag.
Foil as a Trussing Alternative: No butcher’s twine? No problem! Aluminum foil works great for tying the legs together before roasting.

How to Serve Roast Chicken
Salads: Add sliced roasted chicken to a chopped cucumber and tomato salad, kale and chickpea power salad, or a classic Caesar salad with homemade creamy dressing. Top with hard-boiled eggs for even more protein!
Sides: Serve alongside bacon fat roasted Brussels sprouts with mushrooms, crispy grilled potato wedges, creamy corn polenta, or french fries.
Sauces: Elevate your chicken with a classic French Espagnole gravy, silky chicken velouté sauce, brown butter and maple hot sauce, or spicy zhoug herb sauce.
Pasta: Toss shredded chicken into a creamy pasta dish and finish with a classic white sauce for a cozy, comforting meal.
Casseroles: Use shredded rotisserie chicken meat to make a chicken pot pie with puff pastry.
Stock: Save the leftover chicken bones to make a simple homemade stock—perfect for enhancing soups, stews, pastas, and countless dishes.

FAQs
How long should roast chicken rest?
Roast chicken resting times by size:
Small Chicken (2-3 pounds) - rest for 15-20 minutes.
Medium Chicken (4-5 pounds) - rest for 20-30 minutes.
Large Chicken (6+ pounds) - rest for 40-60 minutes.
Should roast chicken be tented or covered with foil as it rests?
No, I’m not a fan of covering because that only traps in the heat. This can lead to overcooked chicken and dry meat. Instead, I like to leave it uncovered to cool down properly, carve, and reheat the pieces for a few minutes before serving.
What can I do with the leftover chicken carcass?
The carcass is perfect for making homemade stock. Store it in a zip-top bag in the freezer and use it to make chicken stock or a chicken velouté sauce.
Can I use this method on other poultry?
This technique works well for rotisserie chickens and Cornish hens. For smaller turkeys (8-10 pounds), kitchen scissors can be effective, but for larger birds, a boning knife or heavy-duty poultry shears are better suited to handle thicker bones.
Ready to Serve!
This method makes carving roast chicken stress-free and elegant. No more awkward slicing at the table—just perfectly moist, easy-to-serve pieces every time.
Kitchen scissors are incredibly versatile beyond chicken. I often use them to cut broccoli into florets, dice cooked meats like sausage, snip chives, cube cheese, and even slice pizza and quesadillas.

My Favorite Kitchen Shears
J.A. Henckels Twin L Kitchen Shears
I’ve trusted the J.A. Henckels Twin L Kitchen Shears for years—they stay sharp, are comfortable to hold, and built to last. They even come in multiple sizes to suit your needs.
Have you tried this scissor carving method? I’d love to hear how it worked for you! Share your experiences in the comments below.
Enjoy!


