How to Grill Corn in the Husk Over a Campfire
Grilling corn over fire is easier than you think! Cooking it in the husk locks in moisture and flavor, making it the simplest & tastiest method.
or read on for common questions and answers

Most Common Questions
Do you soak corn before grilling in the husk?
No, soaking isn’t necessary for me. While some recommend it to prevent burning and help the corn steam, fresh corn typically has enough moisture. Burned husk layers add a smoky flavor, so I skip soaking and let the husk char naturally.
How long does it take to grill corn in the husk over a fire?
Grill corn in the husk for 20-30 minutes, depending on the heat. Hotter fires cook the corn faster.
Should you remove the silk from corn before grilling in the husk?
No, removing the silk isn’t necessary. It’s fine if some silk catches fire - it’ll burn off quickly. I prefer to leave it on, it’s just one less step.
How do you know when corn in the husk is done grilling?
The corn is ready when it smells sweet, all sides are charred, and it’s been grilled for 20-30 minutes. To double-check, carefully peel back a small part of the husk - it should be hot and steamy. Test a kernel for tenderness.
Can you grill corn directly on the coals?
Yes, you can, but wait until the coals are less intense to avoid flare-ups. Rotate the corn frequently and cook for about 15-20 minutes.
What temperature should you grill corn in the husk?
Grill at a high temperature around 400°F. This is roughly a foot away from the fire or on a barbecue set to 400°F.

Step-by-Step Instructions
Ingredients
whole fresh corn in the husk
Equipment
a wood-burning fire or barbecue grill
Cook: 20 min Rest: 10 min
How to make it
Step 1
Light the fire or barbecue.
For a fire, let it burn down until it is about one foot below the grill grates. If using a barbecue, set it to 400°F and preheat.
Place the corn on the grill with the silk and outer leaves intact. If the silk or outer leaves catch fire briefly, don't worry - they’ll burn off quickly and won’t affect the corn.
Tip: If you don’t have a grill grate, you can cook the corn directly in the fire pit, about one foot away from the flames.


Step 2
Rotate the corn.
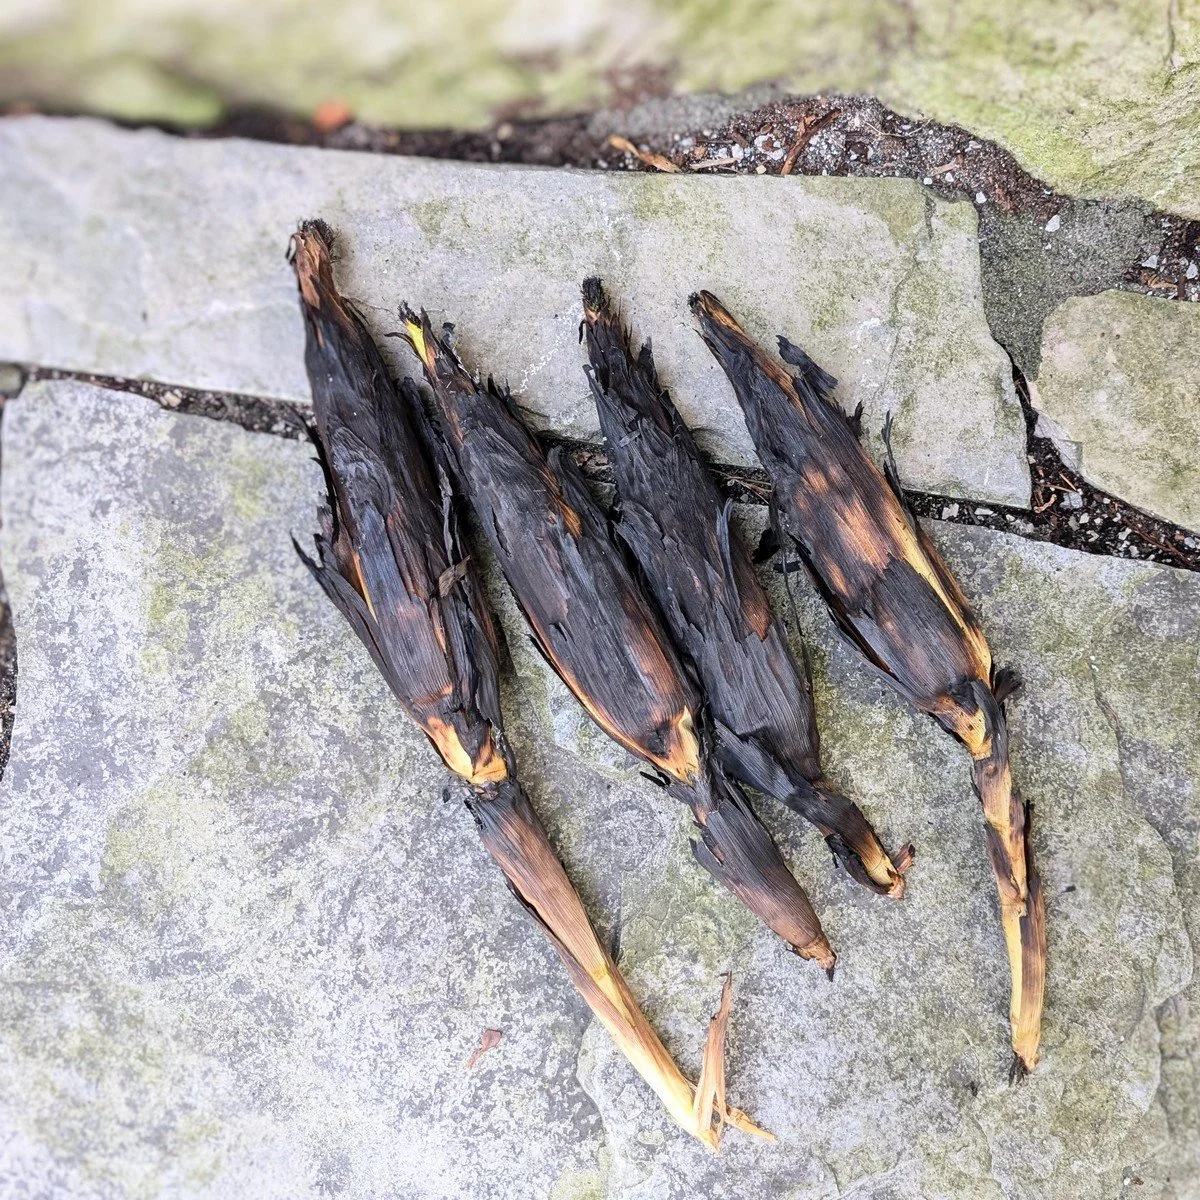
Turn the corn every 5 minutes to cook it evenly. Grill for 20-30 minutes, until the husk is evenly charred all around.
Tip: If the corn is charring too quickly, adjust the logs to create more space or move the corn further from the fire.


Step 3
Let it rest.
When the corn is evenly charred and has cooked for 20-30 minutes, remove it from the heat and let it rest for at least 10 minutes.
Once it’s cool enough to handle, peel back the husks and snap them off from the bottom. I just throw those right into the fire for easy cleanup.


Step 4
Serve.
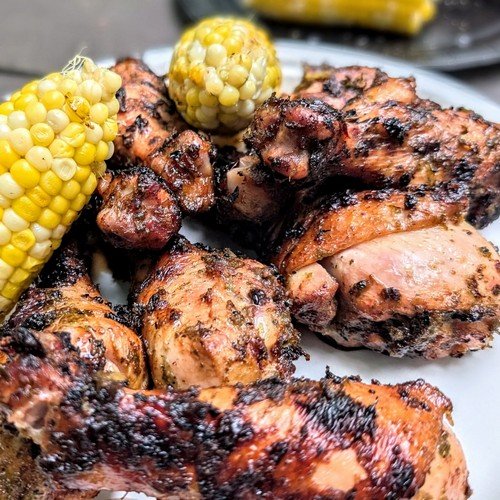
The corn is ready for your favorite toppings! I like to roll it in plenty of butter and sprinkle with salt and pepper.


I may earn a small commission from some of the links on this page if you make a purchase, at no extra cost to you. I only recommend products I genuinely believe in and already have or would purchase myself.
Top Tips for Perfectly Cooked Corn in the Husk
Rotate frequently - turn the corn often to ensure even cooking. If grilling multiple cobs, switch their positions to account for varying heat levels in different spots of the fire.
Don’t overcook - remove the corn from the heat as soon as it’s charred all around. Overcooking can cause the kernels to dry out, become sticky, or even burn.
Use high heat - make sure the heat is high enough to cook the corn evenly and quickly. Low heat won’t allow the corn to steam properly, resulting in uneven cooking.
Use the right tools - to stay safe from the heat of the fire or grill, wear protective gloves and use a sturdy pair of grilling tongs.
I personally use ones similar to these long locking grill tongs and Pitt Mitts from Amazon.
For more tool recommendations and top tips for cooking over an open fire, check out my article on The 10 Essential Campfire Cooking Tools I Can’t Live Without.

Corn on the Cob Topping Ideas
Classic - roll corn in a good hunk of butter and sprinkle it with sea salt. (I like a little freshly ground pepper too!)
Caesar - drizzle with Caesar dressing then top with grated Parmesan cheese and chopped bacon bits.
Cajun spice - season with Cajun seasoning and a squeeze of lime juice.
Mexican street corn (Elote) - spread with jalapeno aioli, sprinkle with cotija cheese, chili powder, and cilantro.
Sesame soy - brush with a sesame, soy, and ginger dressing, then sprinkle with toasted sesame seeds and chopped scallions.
Honey butter - spread with honey, brown butter, and a touch of cinnamon.
Bite into the Perfect Cob Every Time!
Corn on the cob is a camping go-to for us, and I’ve been perfecting this method for years.
I love the simplicity of this approach - no soaking or pre-peeling required, and no aluminum foil needed. Just place the corn directly in the fire pit or on the grill grates, and you’re good to go!
This method always delivers tender corn with a rich flavor, thanks to steaming in its husk and a hint of smokiness from the fire. It doesn’t get any better or simpler than that.
Give this method a try and let me know how your corn turns out in the comments below.
Enjoy!

More Campfire Recipes You’ll Love
Hearty campfire grilled spaghetti squash: A cozy, healthy fall camping meal—grilled over the fire and topped with your favorite sauce.
Crispy and buttery grilled potato wedges: These grilled campfire potato wedges are smoky, crispy on the outside, fluffy on the inside, and the perfect easy side for any outdoor meal.
Creamy campfire polenta with cheese: One of my favorite comfort food campfire recipes—this cheesy polenta is creamy, cozy, and cooks up in one pot right over the fire.
One pot bison bolognese pasta: A hearty one pot campfire pasta recipe made with rich bison meat and simple ingredients. It’s rustic, filling, and made for chilly nights outdoors.
Pan-roasted Brussels sprouts with bacon fat: These cast iron Brussels sprouts are pan-roasted until crispy and golden in smoky bacon fat along with onions and mushrooms—an easy campfire veggie side with major flavor.
How to make camping coffee with the Delter coffee press: If you’re serious about your brew, this guide shows you how to make smooth, strong camping coffee using the Delter press—no grit, no fuss.